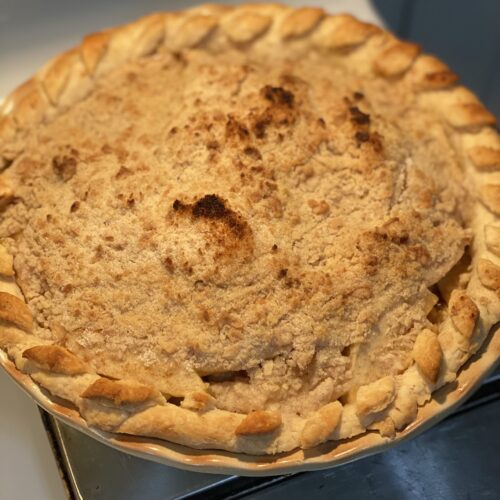
Dad’s Favorite Apple Pie
I have been making this pie for my Dad’s birthday for as long as I can remember. Apple pie has always been his favorite dessert, and once I made this pie once and he loved it, it became tradition that I make it for his birthday every year. When I first started making it, I used Granny Smith apples (that tends to be the go-to baking apple) and it was always delicious. Over the past few years, however, I have taken my kids apple picking each year around the time of his birthday, so we tend to use whatever baking apples happen to be available for picking when we go. We have used Jonagold, Mutzu, and probably some others that I can’t remember but that the orchard said would be good for baking. They have all been delicious! Nothing beats fresh picked apples from the orchard! I think the Jonagold have been my favorite as they have a bit of cinnamon flavor in the apple itself which is so perfect for apple pie.
It’s been fun to see the tradition of this pie evolve over the years, from me making it by myself with store bought apples, to using apples picked with my kids, to having them help me bake the pie as well. This recipe is so kid friendly, they help with almost every component except the cutting of the apples themselves. Soon enough they will be able to do that too, but for now, especially since the apples need to be sliced so thin, I usually do that part myself.
Dad’s Favorite Apple Pie
Ingredients
Crust
- 2 cups flour
- 1 tsp salt
- 2/3 cup vegetable shortening
- 1/4-1/2 cup cold water
Apples
- 5 large baking apples (Granny Smith, Jonagold, Mutzu, etc)
- 1 rounded T. flour
- 1/4 tsp cinnamon
- 1/8 tsp. nutmeg
Topping
- 1/3 cup sugar
- 3/4 cup flour
- 1/2 tsp cinnamon
- 6 T. butter slightly softened
Instructions
- Preheat the oven to 425 degrees.
For the Pie Crust
- In a large bowl, mix 2 cups of flour and 1 tsp. of salt.
- Cut in the shortening with a pastry blender. Sprinkle ¼ c. cold water, then stir with a fork until dough begins to form a ball. (If needed add a bit more until it does, I usually add an additional 1/8-1/4 cup). Then use your hands to shape the dough in a ball that you can roll out into a pie crust.
- Roll out the dough to an even thickness and size that will fit into a 9 inch pie pan and completely come up the sides.
- Place into pie plate and fold under the edges to form a crust. Poke ventilation holes in the bottom of the crust with a fork and press indents around the edge of the crust with a fork as well. As you fold over the edges, in some areas you will have extra dough to remove so the edges don't become too thick. If you have time, you can cut this dough into small shapes like leaves to place around the rim of the crust and add a more festive look to your pie.
For the Filling
- Peel and cut the 5 apples into thin slices, place in a medium sized bowl, and toss with flour, cinnamon and nutmeg until evenly coated. Place the apples in the pie crust. I like to have a heaping pile of apples in the pie. If you are using medium to small apples you may need more than 5.
For the Topping
- Mix sugar, flour and cinnamon in a small bowl.
- Cut in butter with a pastry blender until it forms coarse crumbs. Sprinkle on top of the pie.
- Bake for 25 minutes at 425 degrees.